How Often to Water Peperomia? Signs and Method
Water Peperomia obtusifolia when the top 2-3 cm of substrate is fully dry, not on a fixed calendar interval — for most homes that works out to roughly every 10-14 days in summer and every 21-28 days in winter, but the substrate and the leaf are what actually confirm it. As a semi-succulent, this species stores meaningful water reserves in its own leaves, which is exactly why watering on a schedule regardless of conditions is the single most common cause of its failure: it fails toward rot far more often than toward drought.
Quick Decision Checklist
| Situation | Action |
|---|---|
| Top 2-3 cm dry, pot feels light, leaf folds easily (Taco Test) | Water now |
| Top 2-3 cm still damp, pot feels its normal watered weight | Wait — check again in a few days |
| Substrate wet or damp at depth, leaf soft, sour smell present | Do not water — this is root failure, not thirst; see the overwatering rescue guide |
| It has been fewer than 10 days since the last watering in summer | Optional — check the substrate before assuming it needs water |
| More than 4-6 waterings have passed since the last top-flush | Optional but due — flush with plain water to clear mineral salts |
What to Check Before You Water
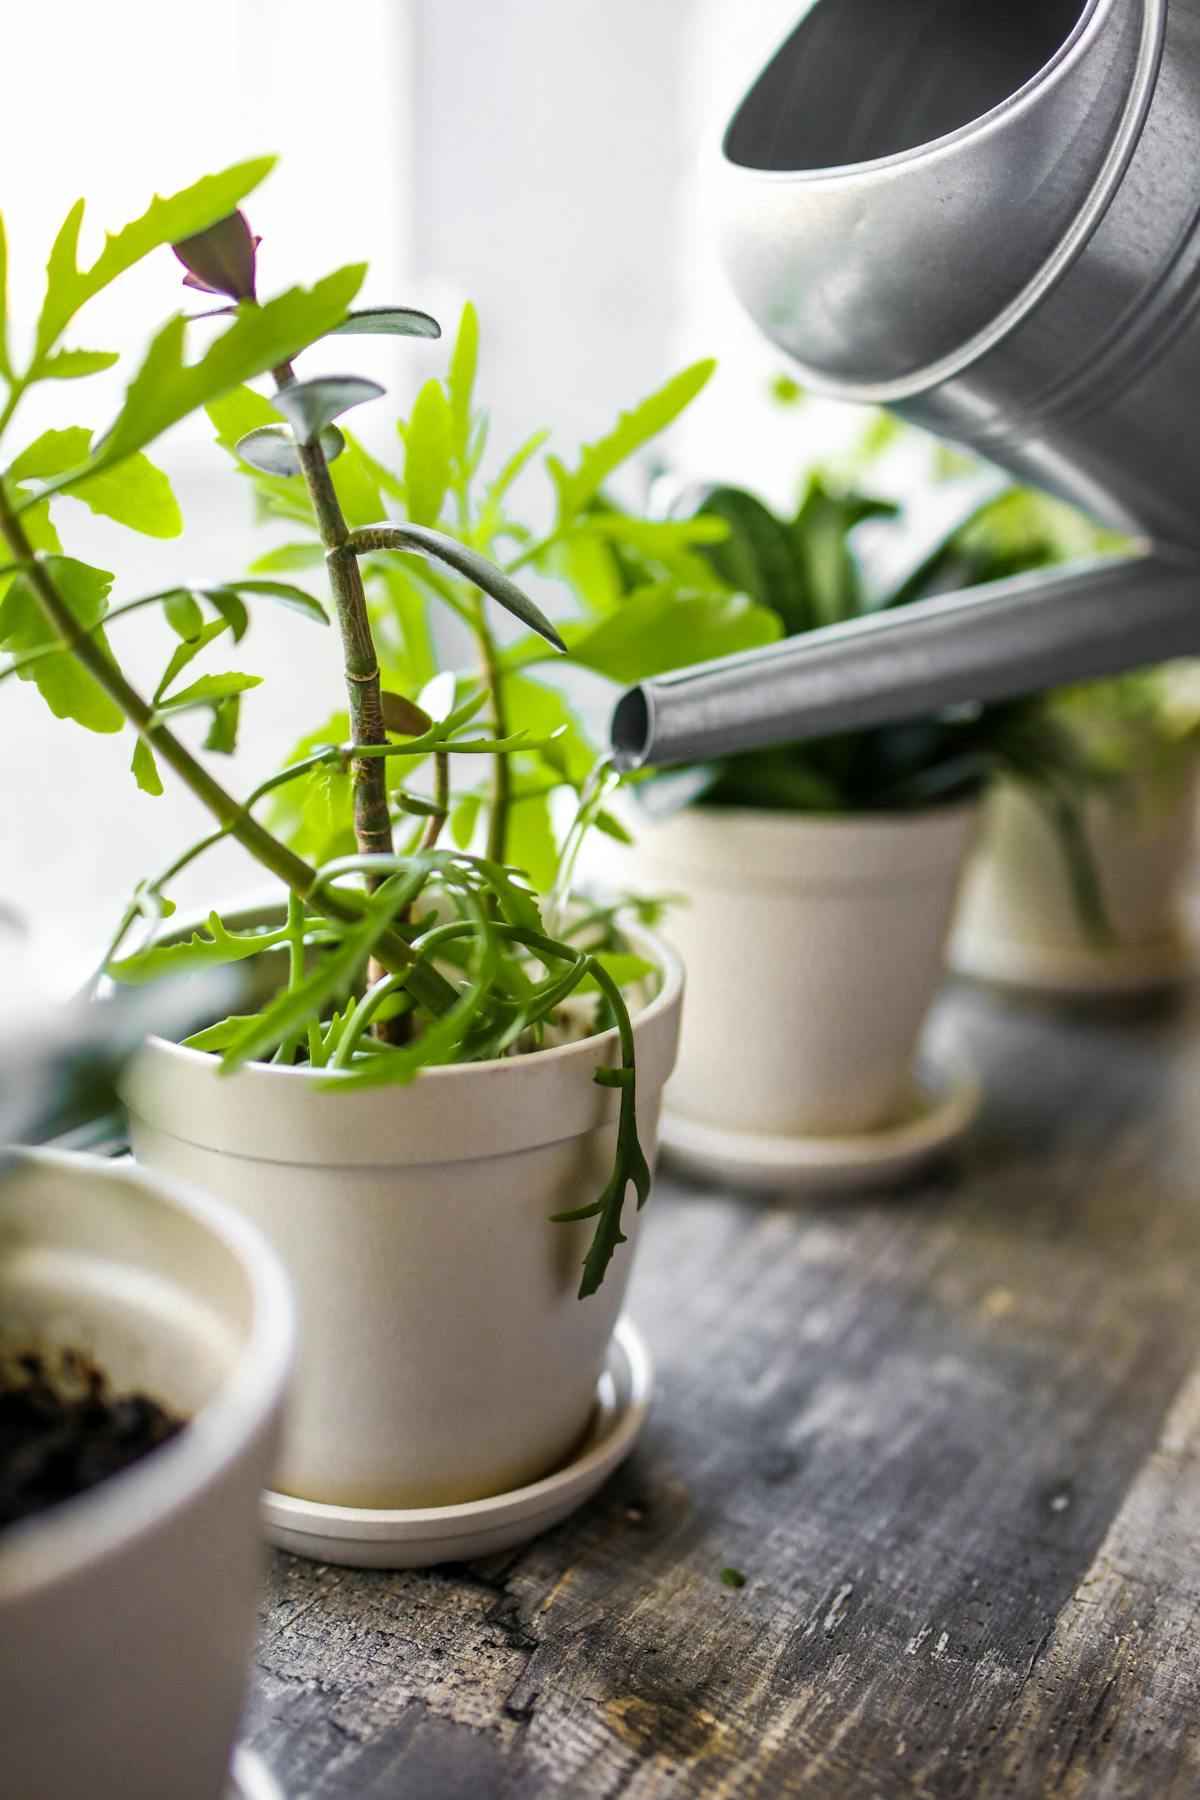
Peperomia obtusifolia is a facultative epiphyte, native to forest understoreys where it grows in bark crevices and leaf litter that drain within hours and dry out between rain events, as documented by NC State Extension. Its leaf parenchyma stores water as a reserve; its fine roots need oxygen at the root surface to respire, and continuous saturation displaces that oxygen within roughly five days, opening the door to Pythium and Phytophthora root rot. Confirm three things before watering:
- Substrate moisture at depth, not just the surface — a wooden skewer or chopstick inserted to mid-pot and drawn out clean and dry is the clearest confirmation. The chopstick test covers this in more detail.
- Pot weight, once you know what "just watered" and "fully dry" feel like for that specific plant.
- Leaf firmness — a mature leaf that folds easily between thumb and forefinger (the Taco Test) has drawn down its internal reserve and is a genuine signal to water; a leaf that resists folding is not short of water.
Step-by-Step Watering Method
- Confirm dryness before you start. Use the skewer test or the pot-weight method below — do not water on the strength of a dry-looking surface alone, since surface soil dries well before the root zone does.
- Water thoroughly, not sparingly. A partial watering — a splash over the surface — only wets the top 2-5 cm of substrate and leaves the lower root zone dry. Roots grow toward available moisture, so a plant watered this way develops a shallow, unstable root system concentrated near the surface, which also makes it more prone to falling over as the canopy matures. Water until it runs from the drainage hole, whether from the top or via bottom-watering.
- If bottom-watering, place the pot in room-temperature water for 15-20 minutes, then lift and drain fully for a further 15 minutes before returning it to a saucer or cachepot. Dry peat- or coir-based substrate is often hydrophobic after a full dry-down, so the first soak sometimes only wets the outer edge of the root ball — a second short soak a few minutes later ensures the centre absorbs water too. The complete method, including when this approach fails, is in the bottom-watering guide.
- If top-watering, pour steadily around the whole substrate surface, not just at the stem base, until water runs from the drainage hole for several seconds. Discard any runoff left in the saucer after 30 minutes — a pot standing in its own runoff is functionally still saturated.
- Success check: the pot should feel noticeably heavier immediately afterward, and the substrate surface should darken evenly rather than in patches (a sign of channelling around a dry root ball rather than full absorption).
The Pot-Weight Method, Calibrated
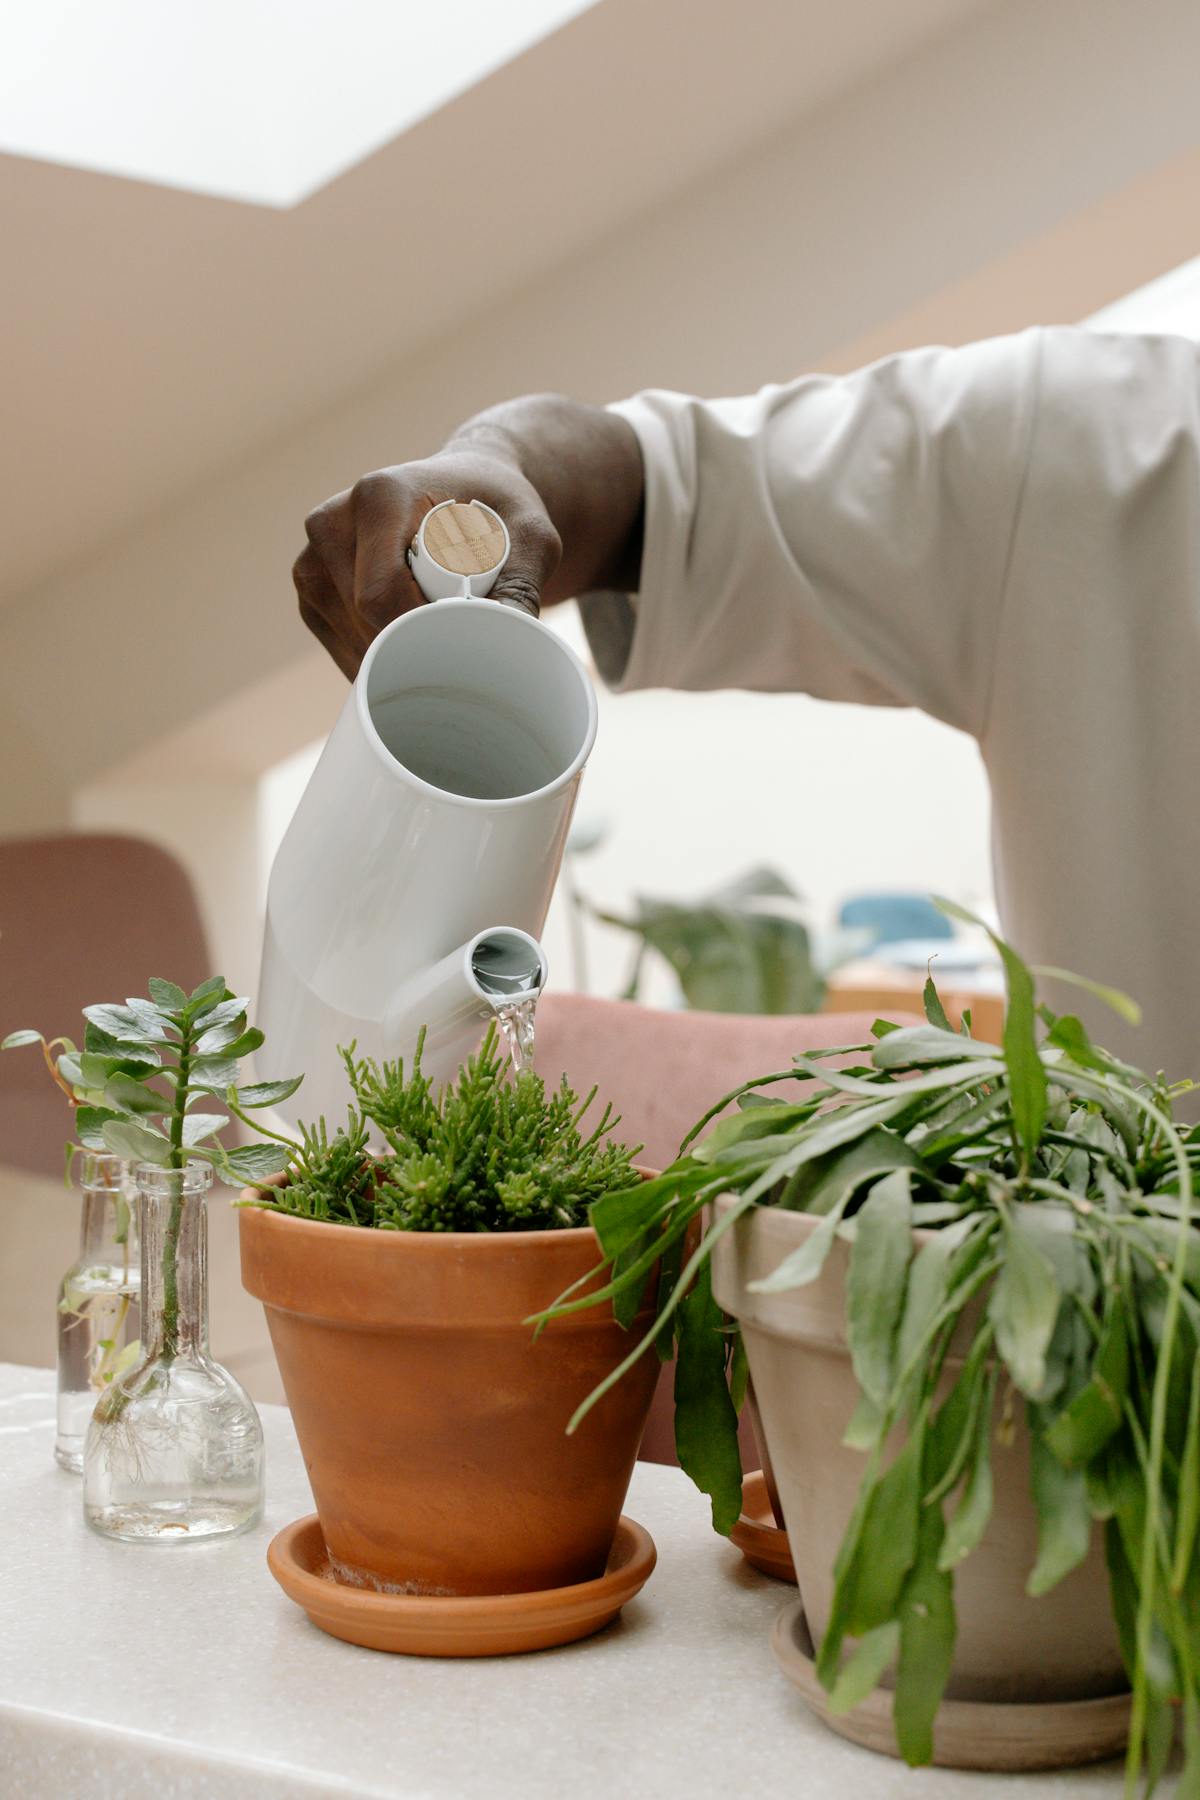
Water is dense enough that a freshly watered pot and a fully dry one differ noticeably in hand, once you've felt both ends of the range on the same plant.
- Feel the dry baseline. The next time the substrate is confirmed bone-dry by the skewer test, lift the pot a few centimetres. Note how light it feels.
- Feel the wet baseline. Water thoroughly, let it drain fully for 15 minutes, then lift the same pot again. Note the difference.
- Use the lift as a routine check. Once both baselines are familiar, a quick lift tells you where the plant sits between them without digging into the substrate.
This method works best in a lightweight plastic nursery pot — a heavy terracotta or thick ceramic pot masks the water's weight against the container's own mass, making the difference harder to feel. It also drifts over time: a plant that has grown substantially heavier in its own succulent tissue will feel heavier at both the dry and wet baseline than it did a year earlier, so recalibrate the baseline occasionally rather than comparing against a memory from months ago.
Adjustments for Season, Pot, and Water Source
- Season: Substrate typically dries within 10-14 days in spring and summer, as higher light (
2,000-4,000 lux) drives transpiration. In autumn and winter, metabolic rate falls with lower light and cooler temperatures, and the same watering frequency is the most common cause of winter root rot — extend the interval to every 21-28 days and confirm dryness before each watering rather than watering on the summer schedule out of habit. - Pot material: Unglazed terracotta wicks moisture and dries faster than plastic, which suits a grower prone to overwatering but can under-deliver in a dry, centrally-heated room. Match the pot to the room's humidity and your own watering tendency rather than treating one material as universally correct — the trade-offs are covered in the best pots guide.
- Water source: Tap water is workable in most areas, though letting it stand uncovered for 24 hours off-gasses chlorine, and hard tap water benefits from an occasional top-flush to prevent salt accumulation. Well water carries its own separate risks — see the well water guide if that's the household supply. Growing the plant in water long-term rather than substrate is a different method entirely, covered in the grow-in-water guide.
- Variegated cultivars: No change to the watering method itself, but variegated forms need
30-40%more light to avoid reversion, and higher light increases transpiration — so a variegated specimen in its correct light level may dry slightly faster than a green-form sibling in a dimmer spot.
Why Peperomia Ice Cubes Aren't a Substitute for This Method
The ice-cube method — placing a few ice cubes on the substrate surface instead of watering properly — is a marketing convenience borrowed from orchid retail packaging, not a horticultural method developed for this species. It fails on three separate mechanisms at once. First, meltwater from a few ice cubes amounts to only a small fraction of a full watering, so it wets the top of the substrate and never reaches the lower root zone — the same shallow-watering problem covered above, which trains a shallow, unstable root system over time. Second, the meltwater never runs through and out the drainage hole, so it cannot flush accumulated fertiliser or tap-water minerals the way a full watering does, letting salts concentrate exactly where the ice sits. Third, ice held directly against root tissue exposes that localised patch to a temperature far below anything this species tolerates well; while the site's general cold-damage threshold of 10°C describes sustained ambient exposure rather than brief direct contact, root tissue evolved for a consistently warm forest floor has no adaptation to freezing contact of any duration. None of these three problems is solved by convenience — a full soak-and-dry watering, described above, addresses all three at once.
Warning Signs and Troubleshooting
| Symptom | Cause | First Step |
|---|---|---|
| Yellowing, soft lower leaves; substrate wet or sour-smelling | Overwatering / root rot | Stop watering, unpot, and inspect the roots — see the overwatering rescue guide |
| Limp, dull, wrinkled leaves; substrate bone-dry at depth | Underwatering | Bottom-water for 15-20 minutes, then drain fully |
| Brown, crisp leaf margins; white crust on substrate or pot rim | Mineral salt accumulation | Flush the substrate with 3-5× the pot volume of low-mineral water |
| Sudden drop of otherwise green, healthy-looking leaves | Cold-water shock or root anoxia | Confirm water is room temperature (18-24°C); check substrate moisture before assuming drought |
Wilting in wet substrate is root failure, not thirst, and the site's position on this is unambiguous: do not "rescue" a wilted plant by watering it immediately. Diagnosing the substrate first prevents the single most common mistake in this whole process — adding water to a plant whose problem is already too much of it.
Aftercare and Monitoring
After watering, check that no water remains standing in the saucer or cachepot after 30 minutes. Recheck substrate moisture with the skewer or pot-weight method rather than resetting the calendar to the "usual" interval — conditions shift with the seasons, and a schedule that was correct in July is often wrong by October. If you've bottom-watered exclusively for several cycles, plan a top-flush soon to move accumulated salts back out rather than letting them concentrate indefinitely.
Common Mistakes
- Watering on a fixed schedule regardless of substrate condition — the proximal cause of most root rot in this species.
- A light "sip" instead of a full soak — wets only the surface, encourages a shallow root system, and leaves the lower substrate permanently dry.
- Bottom-watering forever with no top-flush — allows fertiliser and tap-water salts to concentrate in the upper substrate indefinitely.
- Using the first-knuckle test alone — unreliable for this species since moisture is drawn from lower in the pot than a knuckle reaches.
- Watering immediately when a plant looks wilted, without checking whether the substrate is wet — this accelerates root rot rather than fixing drought.
For the general framework this method sits inside — light, substrate, temperature, and the rest of routine care — see the complete care guide.
Care FAQ
How often should I water Peperomia obtusifolia?
Water when the top 2-3 cm of substrate is fully dry, which is typically every 10-14 days in summer and every 21-28 days in winter for a 12 cm pot under standard indoor conditions. The interval is a guide, not a rule — always confirm with the substrate or pot weight rather than watering on a fixed calendar day.
Should I water Peperomia from the top or the bottom?
Bottom-water as the default. It hydrates the full root zone evenly through capillary action and keeps the stem base dry, reducing the risk of stem and crown rot. Top-water periodically as a deliberate flush to wash out accumulated mineral salts, since bottom-watering alone never moves salts back out of the substrate.
Can I water Peperomia obtusifolia with tap water?
Yes, with some caveats in hard-water areas. Chlorine, fluoride, and dissolved minerals in tap water can accumulate in the substrate over months and eventually cause marginal leaf burn. Letting tap water stand uncovered for 24 hours before use reduces chlorine, and periodic flushing with filtered or rain water prevents mineral buildup regardless of the water source.
Is the knuckle test reliable for Peperomia?
Not on its own. The first-knuckle test was developed for plants with shallow root mats near the surface. Peperomia obtusifolia draws moisture from lower in the substrate while the top few centimetres dry first, so a dry top knuckle does not reliably mean the plant needs water. A skewer drawn from mid-pot, or the pot-weight method, gives a more accurate reading.